Talking about the benchmark of mechanical parts processing
Actually, any kind of product must go through various series of processing and inspection before it can be sold and used outside. According to the data, machining of mechanical parts is one of the workpieces with the largest number of processing steps in the finished product. At the end of the day, machinery with good performance produces higher quality products. With the development of modern industry today, the structure and configuration of machinery has become the focus of attention. Only by continuously improving technology can the future development of various industries play a greater role.
Machining of mechanical parts is a process of changing the dimensions or properties of a workpiece through a mechanical device. According to the different processing methods, processing can be divided into two types: cutting and pressing. Machine parts are composed of several planes. To study the relative relationship of the planes, a datum must be determined. The datum is the point, line, and surface used to determine the position of other points, lines, and surfaces in the part. According to their different functions, benchmarks can be divided into design benchmarks and process benchmarks.
In the machining of mechanical parts, the design basis refers to the basis for determining the position of other points, lines and surfaces by using the part drawing, which is called the design basis. The process datum used for precision machining refers to the datum used for the machining and assembly of parts, which is called the machining datum. According to the use of different process benchmarks are divided into assembly benchmarks, measurement benchmarks and positioning benchmarks.
Assembly datum: The datum used to determine the position of the part in the part or product during assembly is called the assembly datum.
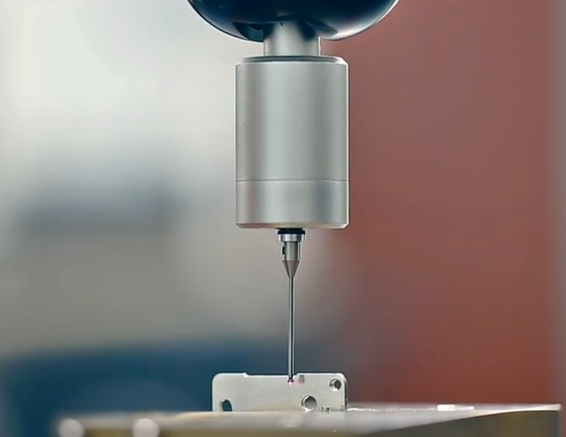
Measurement datum: The datum used to check the size and position of the machined surface is called the measurement datum.
Location datum: The datum used to locate the workpiece during processing is called the positioning datum. For the surface (or line, point) that takes the unmachined surface (or line, point) as the positioning reference, only the unmachined surface can be selected in the first process, and this positioning surface is called the rough reference. It can be used in each subsequent process. The machined surface is used as the positioning reference, and this positioning surface is called the fine reference.


