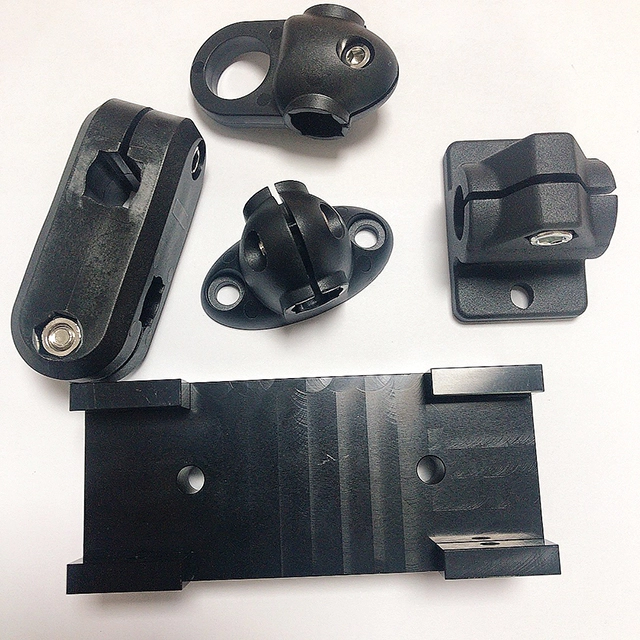
How to control the surface roughness of precision metal processing
With the advancement of science and technology and the development of society, people have put forward higher and higher requirements for the performance and quality of precision machined products. The performance and quality of the product are determined by the product design, and are guaranteed by the quality of precision metal processing, manufacturing and assembly. Its quality includes two aspects: processing accuracy and surface quality. The surface quality of precision mechanical parts is one of the important indicators, especially it has a great influence on the reliability of parts under high speed, high temperature and high pressure conditions.
The machined surface is to change the size, shape and performance of the blank surface through precision machining or other methods to make it meet the requirements of the design drawing. However, the outer surface formed by turning of precision mechanical parts is not a completely ideal surface. After machining, a thin surface layer is formed on the surface of the part, the characteristics of which are very different from those of the internal matrix. During precision hardware processing, the surface undergoes elastic and plastic deformation under the complex stress state of wedging, extrusion, fracture and friction during the entire cutting process, and changes under the combined action of cutting force, cutting heat and surrounding medium. The original geometric characteristics and physical and mechanical properties of the workpiece surface are obtained. Therefore, 'surface quality' is used to evaluate the degree of conformity between the geometric, physical, chemical or other engineering performance conditions of the surface layer of the processed parts and the technical requirements of the parts. The main contents expressed are divided into the following aspects.
Surface roughness: The micro-geometric feature composed of peaks and valleys with small spacing on the surface of precision metal processing, which is mainly formed by the motion trajectory of the cutting tool in precision machining, and the ratio of wave height to wavelength is generally greater than 1:50.
Surface waviness: The intermediate geometry error between the macro geometry error and the surface roughness, which is mainly caused by the offset and vibration of the cutting tool, and the ratio of the wave height to the wavelength is generally 1:50 to 1:1000.
Surface machining texture: The main direction of the surface microstructure, which depends on the precision machining method used to form the surface, that is, the relationship between the main motion and the feed motion.
Scar: Defects appearing on some individual positions on the surface of precision metal processing, most of which are randomly distributed. Such as burrs, cracks and scratches.
Physical and mechanical properties of the surface layer: During the processing of precision mechanical parts, various complex physical and chemical changes occur on the surface of the parts, causing changes in the physical and mechanical properties of the surface layer. It mainly includes the following three aspects: work hardening of the surface layer, changes in the metallographic structure of the surface layer, and residual stress of the surface layer.
The effect of surface quality on the performance of parts:
Surface quality reflects some geometric features and physical and mechanical properties of the surface layer. It has a great influence on the wear resistance, fit quality, fatigue strength, corrosion resistance and contact stiffness of precision metal processing. The service life of precision hardware depends to a large extent on the wear resistance of the parts. The wear resistance of the parts is related to the material of the friction pair, the lubrication conditions of the working environment and the surface quality of the parts. The surface quality of the part plays an important role.
